There are often times during an assessment when we may be limited to a Windows network and may not be able to use SSH for pivoting. We would have to use tools available for Windows operating systems in these cases. SocksOverRDP is an example of a tool that uses Dynamic Virtual Channels (DVC) from the Remote Desktop Service feature of Windows. DVC is responsible for tunneling packets over the RDP connection. Some examples of usage of this feature would be clipboard data transfer and audio sharing. However, this feature can also be used to tunnel arbitrary packets over the network. We can use SocksOverRDP to tunnel our custom packets and then proxy through it. We will use the tool Proxifier as our proxy server.
We can start by downloading the appropriate binaries to our attack host to perform this attack. Having the binaries on our attack host will allow us to transfer them to each target where needed. We will need:
- We can look for
ProxifierPE.zip
We can then connect to the target using xfreerdp and copy the SocksOverRDPx64.zip file to the target. From the Windows target, we will then need to load the SocksOverRDP.dll using regsvr32.exe.
Loading SocksOverRDP.dll using regsvr32.exe
RDP and SOCKS Tunneling with SocksOverRDP
regsvr32.exe SocksOverRDP-Plugin.dll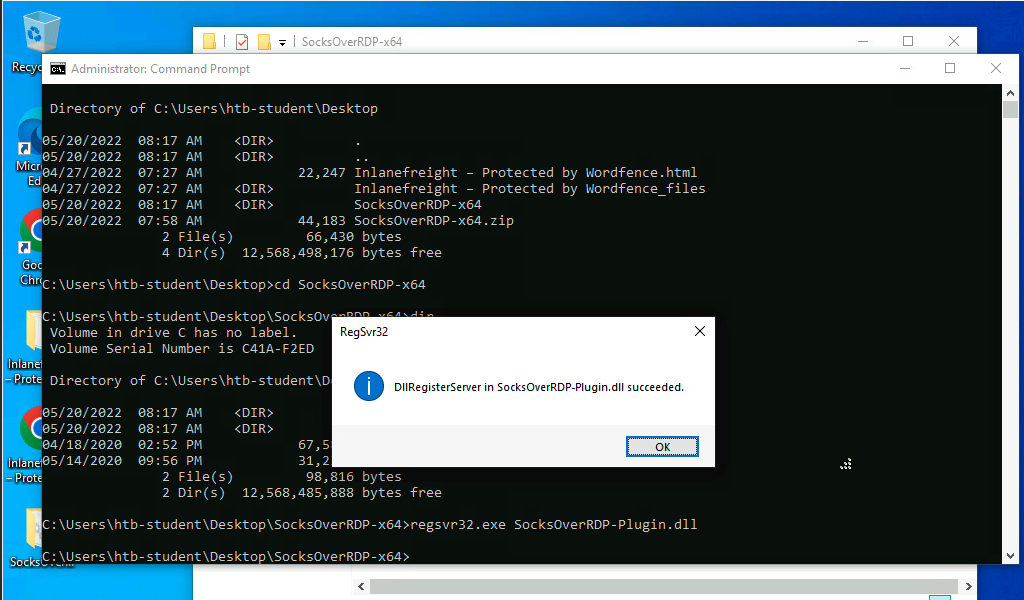
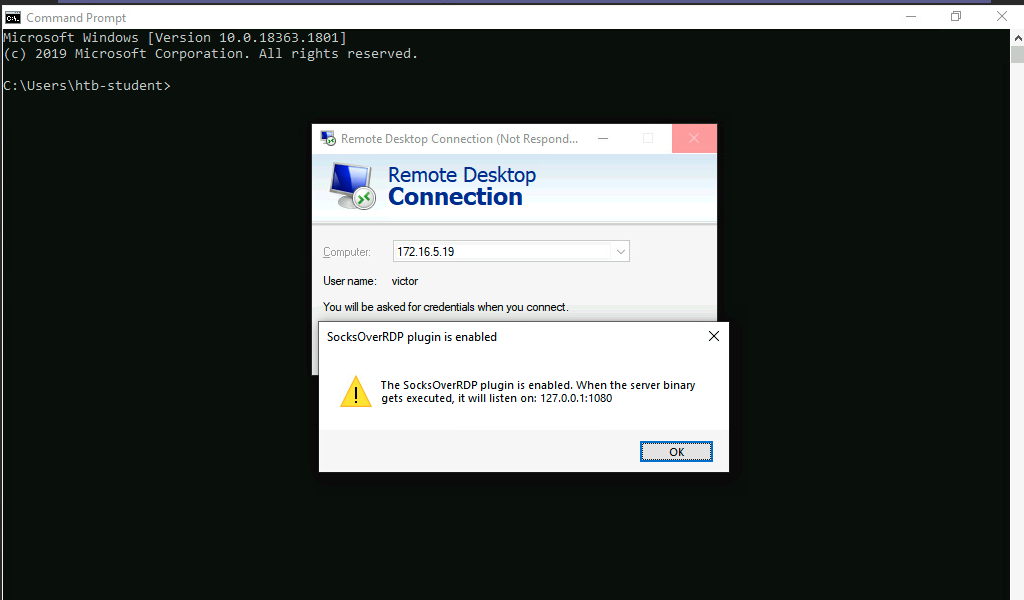
Now we can connect to 172.16.5.19 over RDP using mstsc.exe, and we should receive a prompt that the SocksOverRDP plugin is enabled, and it will listen on 127.0.0.1:1080. We can use the credentials victor:pass@123 to connect to 172.16.5.19.
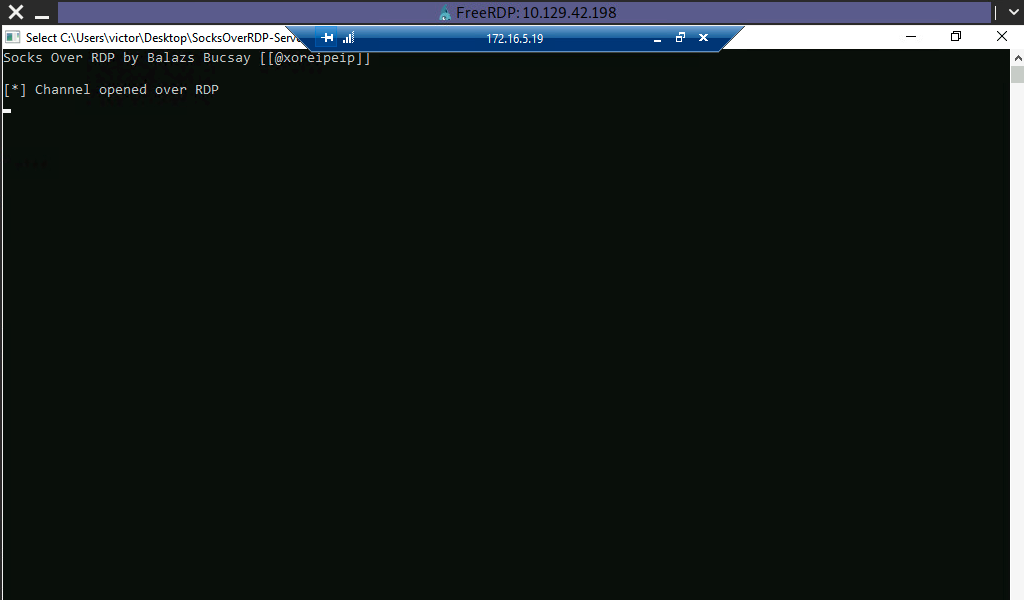
We will need to transfer SocksOverRDPx64.zip or just the SocksOverRDP-Server.exe to 172.16.5.19. We can then start SocksOverRDP-Server.exe with Admin privileges.
When we go back to our foothold target and check with Netstat, we should see our SOCKS listener started on 127.0.0.1:1080.
Confirming the SOCKS Listener is Started
RDP and SOCKS Tunneling with SocksOverRDP
netstat -antb | findstr 1080

  TCP    127.0.0.1:1080         0.0.0.0:0              LISTENING
After starting our listener, we can transfer Proxifier portable to the Windows 10 target (on the 10.129.x.x network), and configure it to forward all our packets to 127.0.0.1:1080. Proxifier will route traffic through the given host and port. See the clip below for a quick walkthrough of configuring Proxifier.
Configuring Proxifier
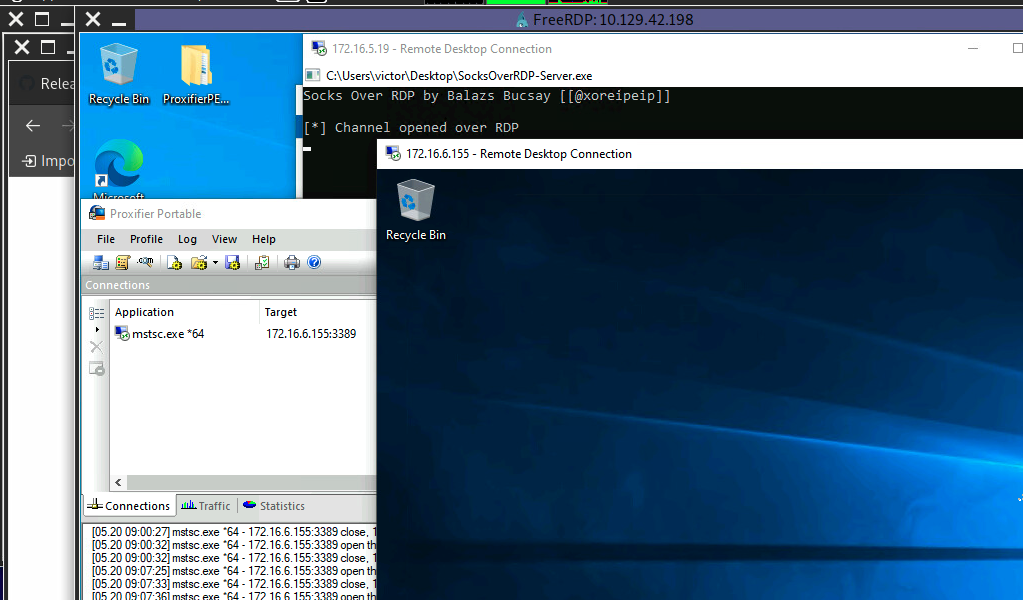
With Proxifier configured and running, we can start mstsc.exe, and it will use Proxifier to pivot all our traffic via 127.0.0.1:1080, which will tunnel it over RDP to 172.16.5.19, which will then route it to 172.16.6.155 using SocksOverRDP-server.exe.
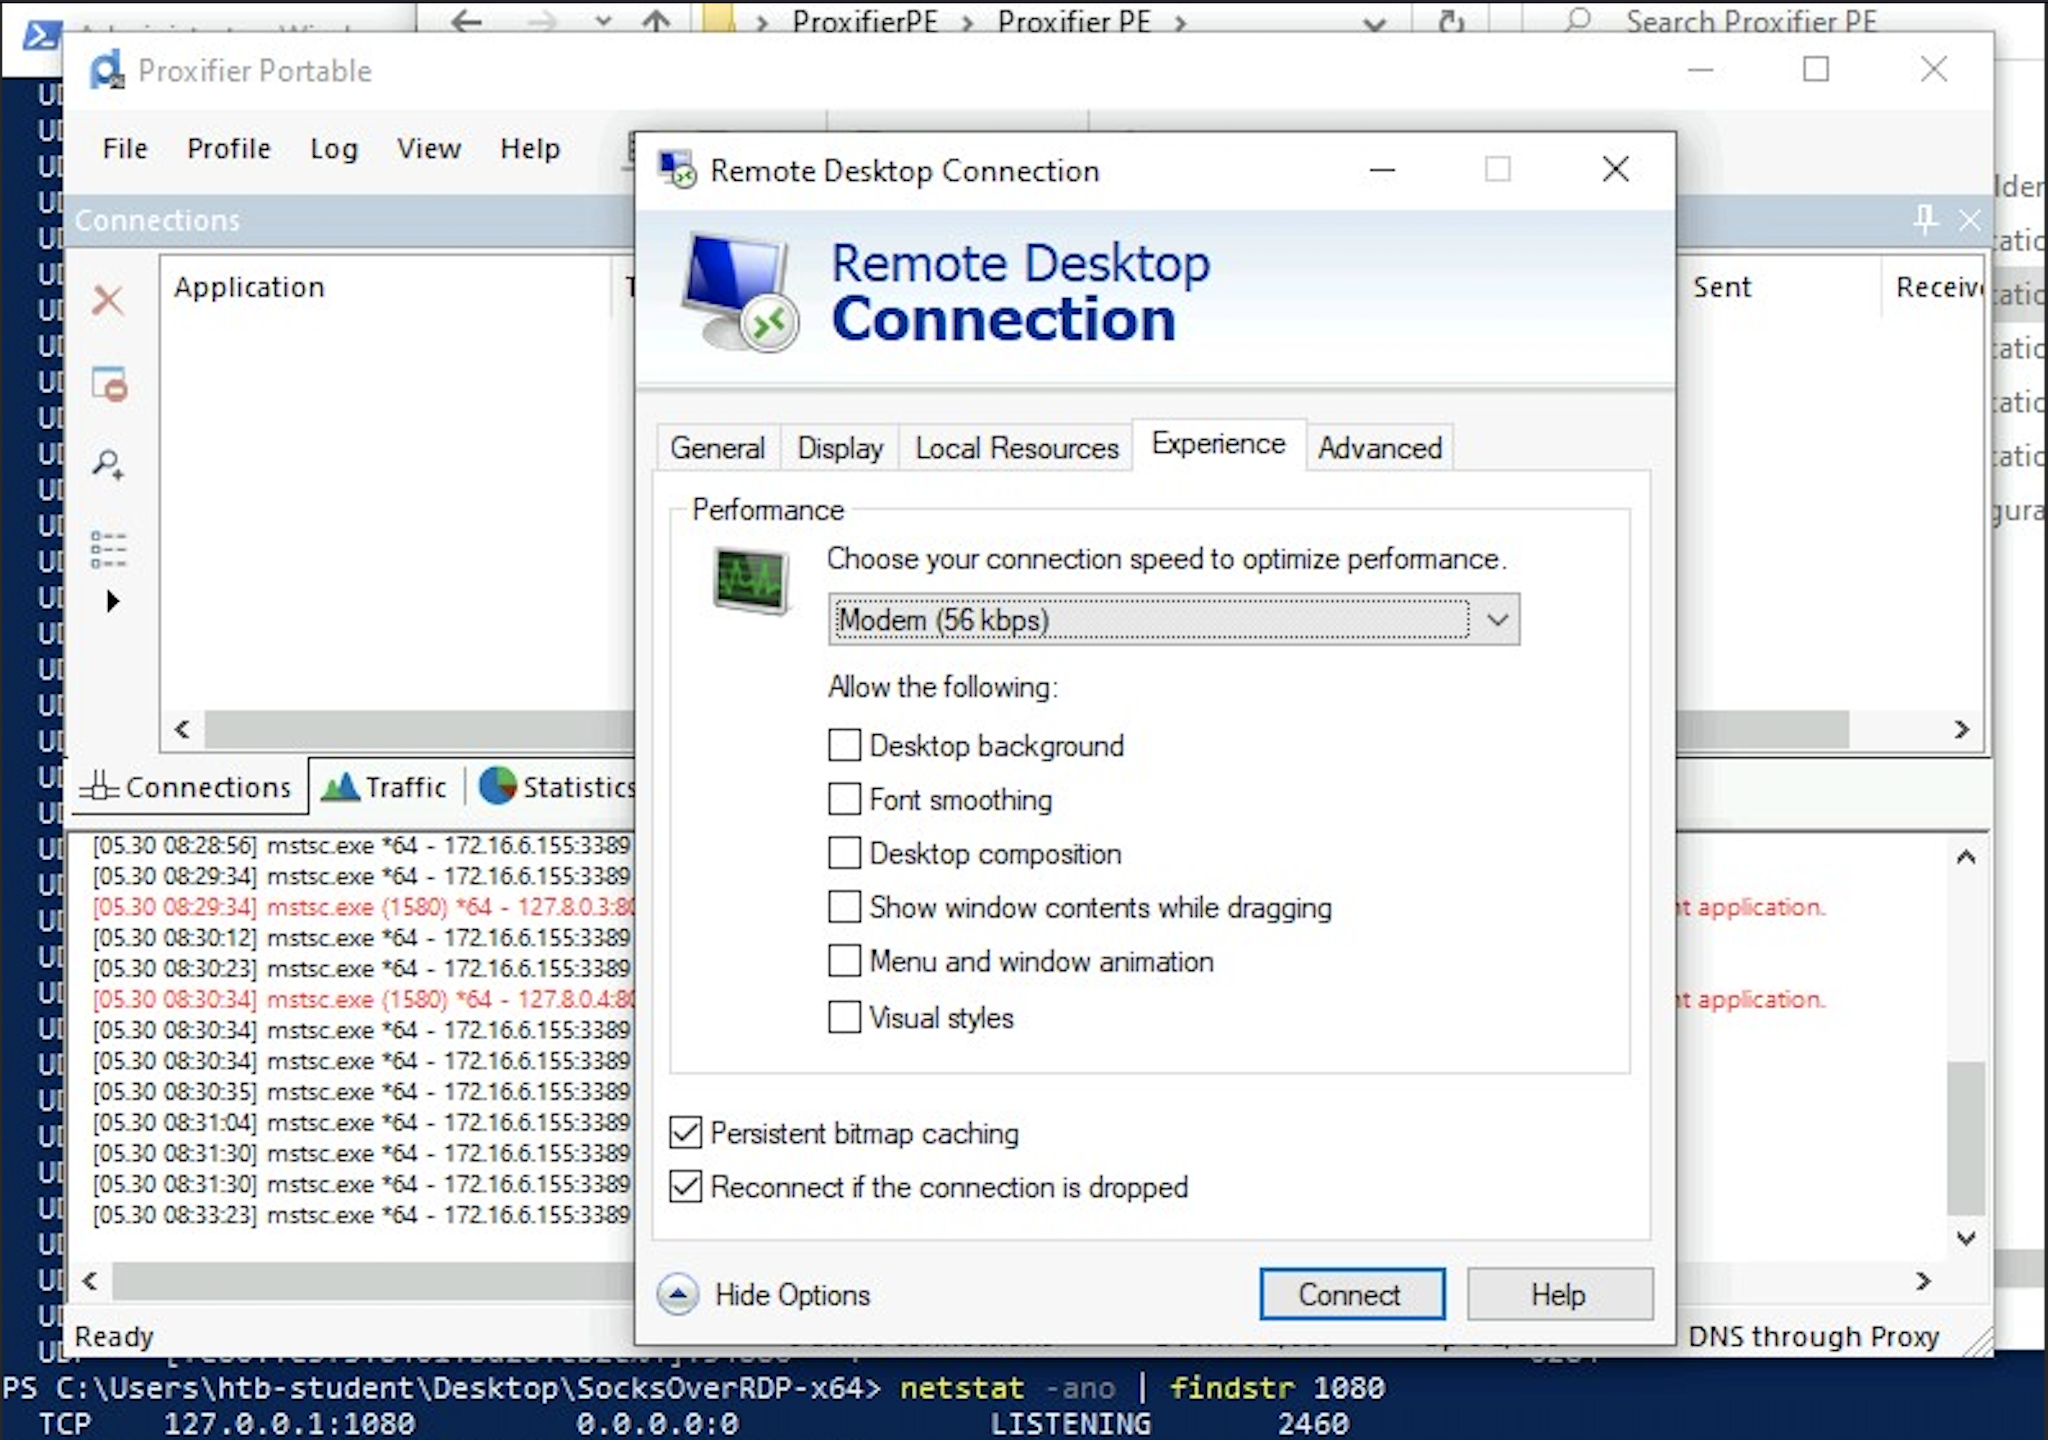
RDP Performance Considerations
When interacting with our RDP sessions on an engagement, we may find ourselves contending with slow performance in a given session, especially if we are managing multiple RDP sessions simultaneously. If this is the case, we can access the Experience tab in mstsc.exe and set Performance to Modem.
Note: When spawning your target, we ask you to wait for 3 - 5 minutes until the whole lab with all the configurations is set up so that the connection to your target works flawlessly.